
-
-
Acrylic front
-
Wire
-
Distance sensor
-
Screws M3 6mm (Silver) (2x)
-
Sensor holder front (3d Printed)
-
Sensor holder back (3d Printed)
-
-
-
Remove the protective paper from the acrylic.
-
Insert the sensor holder front from the side of the acrylic without the protective paper.
-
Turn the acrylic around and position the sensor holder back aligned with the holes for the screws on the sensor holder front.
-
Position the distance sensor on top of the sensor holder back and align the holes for the screws.
-
Inset and tight the screws.
-
Connect the wire with the red wire starting all the way on the left of the distance sensor.
-
-
-
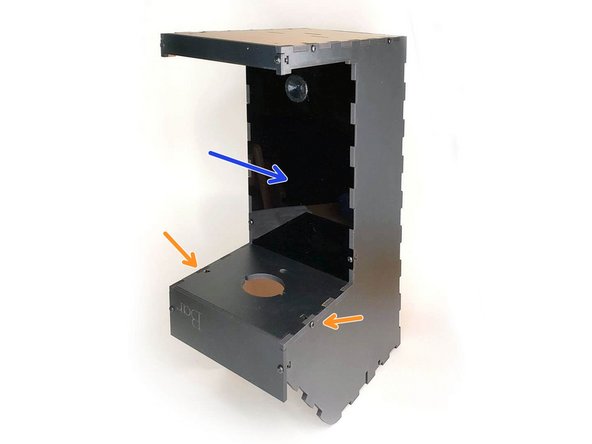
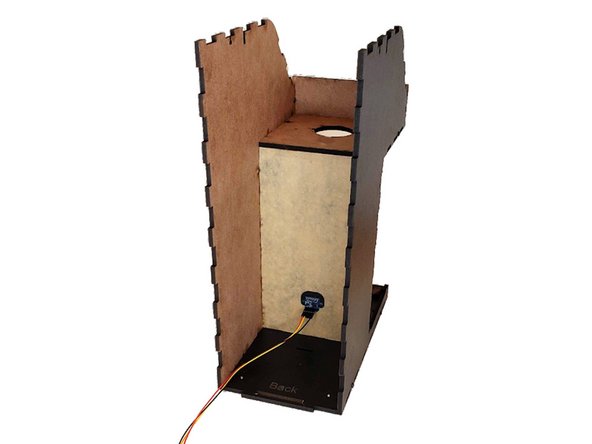
First, position the acrylic front in the case with the sensor facing out.
-
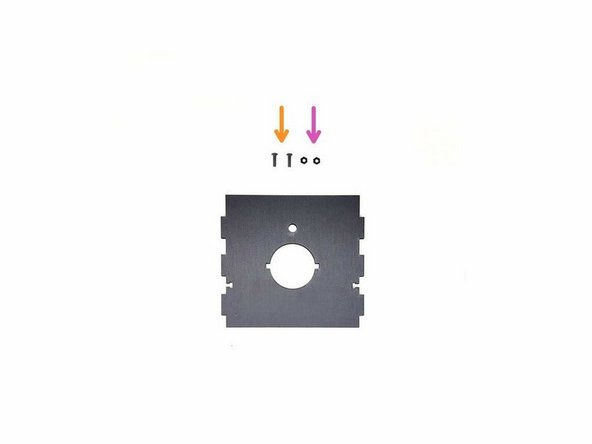
Place the "Top front bottom panel".
-
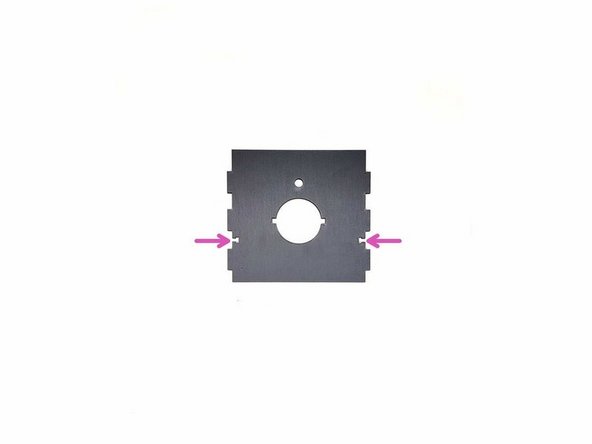
Take the top front bottom panel and insert two M3 nuts.
-
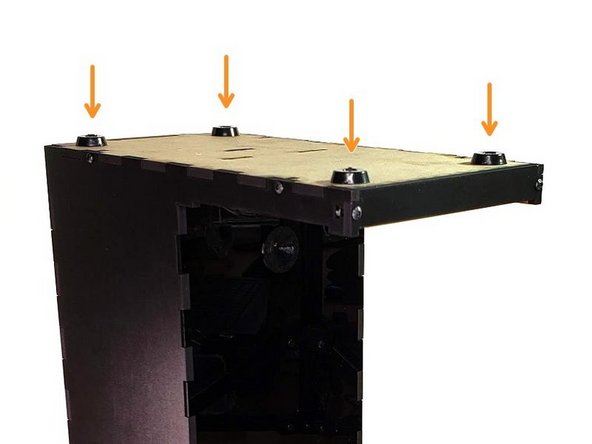
Inset and tight the M3 8mm screws (Black) (2x)
-
-
-
Great job! If you have transparent motors please go to 5a. Pumps column assembly. If your motors are white 5b. Pumps column assembly
-


Cancel: I did not complete this guide.
One other person completed this guide.

One Comment
Some problems on this step. The back panel has evolved to a more elegant design that no longer needs the screws.
Also, the 3D printed sensor holder (the round piece) was too large for the hole and needed sanding. I tried to force it and cracked the acrylic.
Dave@innonavi.com - Resolved on Release Reply