
-
-
Back panel
-
Spacers M3 6mm (4x)
-
Screws M3 4mm (Black) (4x)
-
-
-
Insert the spacers on the back panel.
-
Using the M3 4mm screws mount the circuit board to the spacers.
My panel has a white side, instead of a brown side. The other side is still black.
Guido Kimble - Resolved on Release Reply
-
-
-
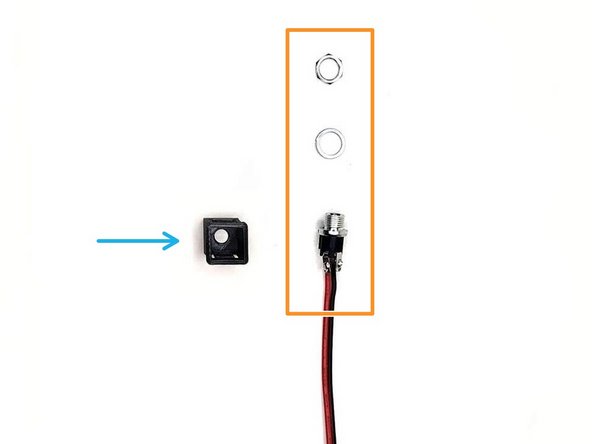
Power Jack
-
Power Jack holder
My power jack is missing the washer and nut. I don't think that was intentional.
Guido Kimble - Resolved on Release Reply
-
-
-
Insert the washer into the power jack.
-
Insert the power jack (with the washer) from the back of the holder and secure it with the nut.
-
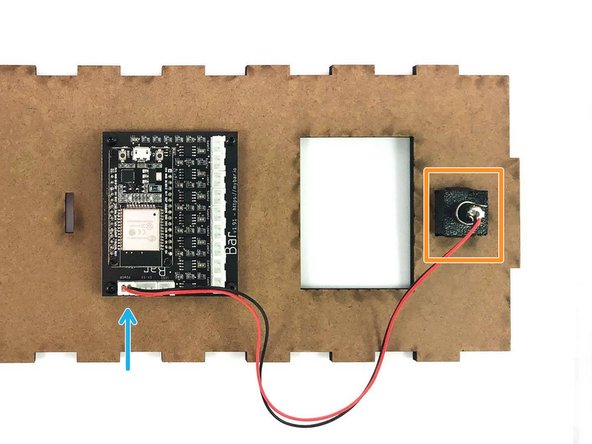
Insert the power jack holder into the back panel
-
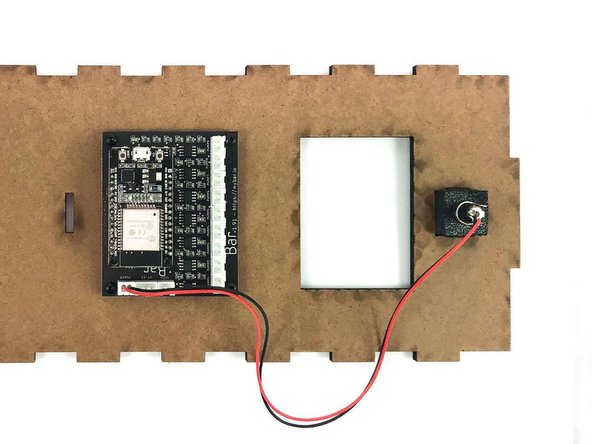
Connect the power wire to the circuit board
Power jack holder needs the underside of the panel flange trimmed. Initially, it has 3P print overhang/bridging defects that prevent it from seating fully into the panel. It probably needs the design adjusted to compensate for this expected defect.
Guido Kimble - Resolved on Release Reply
-


Cancel: I did not complete this guide.
One other person completed this guide.

Take the time now to wipe all the black charred powder off of the edges of all the laser cut MDF parts.
Guido Kimble - Resolved on Release Reply
This picture doesn't match my parts. My back panel doesn't have the grille slots, and has one small rectangular slot (about the size that a penny could pass through) in that area.
Guido Kimble - Resolved on Release Reply